Introduction
Capturing screenshots on your Chromebook is a straightforward task that can be incredibly useful for various reasons. Whether you want to save a web page for offline reading, share an image with friends, or capture an error message, knowing how to quickly and efficiently take screenshots is essential. This guide will walk you through several methods to capture screens on your Chromebook laptop, ensuring that you can choose the one that best fits your needs.
There are multiple ways to capture screenshots, including using keyboard shortcuts, physical buttons, stylus tools, and third-party applications. We’ll not only cover each method in detail but also provide tips on finding and editing your screenshots as well as troubleshooting common issues that may arise.

Why Take Screenshots on a Chromebook?
Screenshots serve various purposes, making them essential for both personal and professional use. On a Chromebook, taking a screenshot can help you document important online transactions, capture assignments or lecture notes, illustrate step-by-step tutorials, and much more. Screenshots are a quick and easy way to save and share information without having to copy text or take notes by hand.
Chromebooks are popular for their fast boot times, ease of use, and seamless integration with Google’s suite of apps and services. As such, many students, educators, and professionals use Chromebooks for browsing, creating content, and collaborating online. Therefore, the ability to take screenshots efficiently can significantly enhance productivity and communication.

Method 1: Using Keyboard Shortcuts
How to take a full screenshot
To take a full screenshot of your Chromebook screen using a keyboard shortcut:
- Press
Ctrl+Show windowskey. TheShow windowskey is usually found in the top row and is represented by a rectangle with two lines. - Once pressed, you will see a notification confirming that a screenshot has been taken. This screenshot captures everything visible on your screen.
How to take a partial screenshot
If you only need to capture a portion of your screen:
- Press
Ctrl+Shift+Show windowskey. - Your screen will dim, and a crosshair cursor will appear.
- Click and drag to select the area you want to capture.
- Release the mouse button, and the selected area will be saved as a screenshot.
With these shortcuts, Chromebook makes it extremely convenient to capture either the entire screen or just a specific part, according to your needs.
Method 2: Using the Power + Volume Down Buttons
For users who prefer a more tactile approach or don’t have immediate access to the keyboard shortcuts, using the physical buttons on your Chromebook is another great option. This method is particularly useful for tablet mode on convertible Chromebooks:
- Hold down the
Powerbutton. - Press the
Volume Downbutton simultaneously. - The screen will briefly dim, indicating that the screenshot has been captured.
This button combination is quick and can be especially handy if you are holding your device and need to capture something on screen swiftly without putting it down.
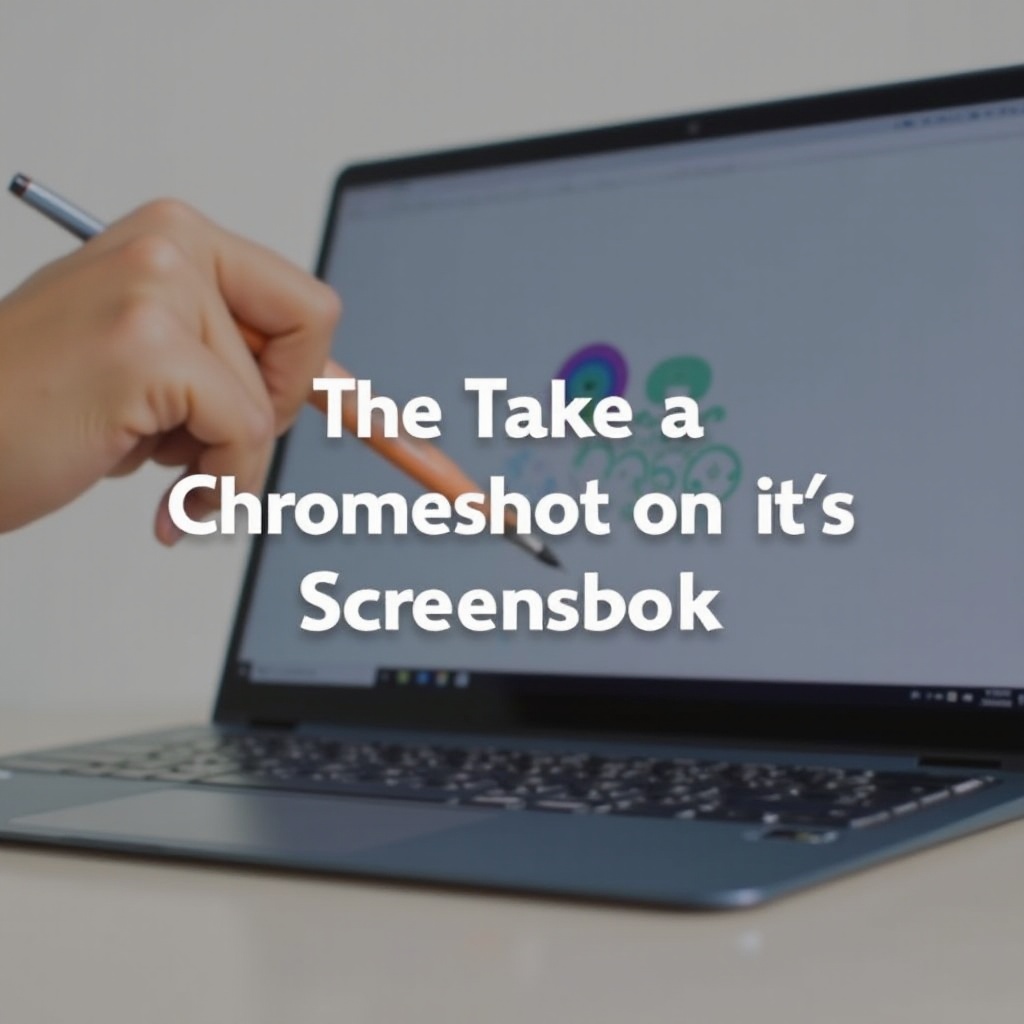
Method 3: Using the Stylus Tool (for Convertible Chromebooks)
Convertible Chromebooks, which can function as both a laptop and a tablet, often come with a stylus. If you have one, you can use it to take screenshots easily:
- Tap the screen with your stylus to open the stylus menu.
- Select the
Capture Screenoption to take a full screenshot. - Alternatively, select
Capture Regionand drag to capture a specific portion of the screen.
The stylus method is particularly effective for users who are in tablet mode and using their devices to take notes or draw, offering a seamless way to capture their work.
Method 4: Using Third-Party Applications
While the built-in methods are usually sufficient, there are several third-party applications available on the Chrome Web Store that offer additional functionality:
Lightshot: A popular screenshot tool that allows for easy editing and sharing of screenshots instantly.Nimbus Screenshot & Screen Video Recorder: Offers both screenshot and screen video recording options, along with various editing tools.Awesome Screenshot: Known for its powerful annotation tools, this application also allows for easy sharing.
To use any of these tools:
1. Install the desired application from the Chrome Web Store.
2. Follow the app’s instructions to capture, edit, and share your screenshots.
These third-party tools can provide advanced features that might be useful for those looking to do more with their screenshots, such as detailed annotations, image editing, or video capture.
How to Find and Edit Your Screenshots
Once you’ve captured a screenshot, you’ll likely want to find it and possibly edit it. Here’s how:
- Open the
Filesapp on your Chromebook. - Navigate to the
Downloadsfolder, where screenshots are saved by default. - Double-click the screenshot to open it.
For editing:
1. Open the screenshot with the Gallery app.
2. Use built-in tools to crop, rotate, or adjust the image.
3. For more advanced edits, you can use external apps like Pixlr or Adobe Spark.
Locating and editing your screenshots is straightforward on a Chromebook, making it easy to tweak your images for presentations, tutorials, or sharing.
Troubleshooting Common Issues
Sometimes, you may encounter issues while taking screenshots. Here are some common problems and their solutions:
- Keyboard shortcuts not working: Ensure you are pressing the correct keys and check if the keyboard is functioning properly.
- Screenshots not saving: Check the
Downloadsfolder permissions and ensure your storage is not full. - Stylus tool unavailable: Make sure your Chromebook supports stylus input and the stylus is paired correctly.
By addressing these common issues, you can ensure that your ability to capture screenshots remains smooth and trouble-free.
Conclusion
Capturing screenshots on a Chromebook is a skill that can improve your productivity and simplify your digital tasks. Whether you prefer using keyboard shortcuts, physical buttons, a stylus, or third-party apps, there’s a method that fits your workflow. Being able to quickly and effectively take screenshots enables you to share information effortlessly, capture important data, and enhance your overall computing experience.
Frequently Asked Questions
How do I take a screenshot on a Chromebook if the keyboard shortcuts are not working?
If the keyboard shortcuts aren’t working, try using the `Power` + `Volume Down` buttons method, or consider installing third-party screenshot applications from the Chrome Web Store that offer alternative ways to capture your screen.
Where are the screenshots saved on a Chromebook?
Screenshots are saved by default in the `Downloads` folder. You can access this folder via the `Files` app on your Chromebook.
Can I use external applications to edit my screenshots on Chromebook?
Yes, you can use various external applications like `Pixlr`, `Adobe Spark`, or any other image editing tool available on the Chrome Web Store to edit your screenshots for more advanced features.